Lion Art? Get Those Watercolor Pencils Ready!
Ever picked up a bunch of watercolor pencils, huh? Stared at a blank page. “Now what?” Oh yeah, getting the most from watercolor pencil drawing? It’s like finding a spot in downtown LA. A nightmare, but absolutely worth it for killer art. Plus, it’s more than just coloring. It’s about using water, stacking colors, and maybe a little patience. Makes stuff with real depth, that sweet vibrant watercolor look. We’ll show you the cool tricks we learned making an awesome lion.
Light Strokes for a Clean Start. No Heavy Hands!
First off, super important: sketch light. Like, really light. Grab a black watercolor pencil, not your usual graphite one. Why? Because when that black hits water, it just melts away. No annoying pencil lines sticking around. Nothing to muck up your killer art.
And here’s the big secret: never press down hard. Seriously. Too much pressure when you first sketch? It leaves stubborn marks, even after you add water. Been there. Go gentle. Like whispering on the paper. Not shouting.
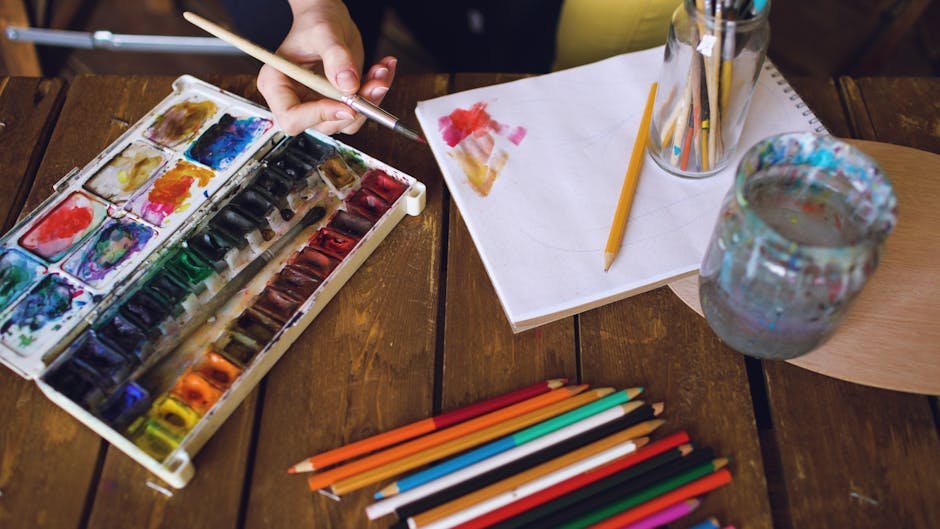
Know Your Colors! Swatch It Up
Before any water touches your paper, seriously, get friendly with your stuff. Always, always make a little color chart on another piece of paper. It shows you exactly how each pencil looks wet and how they play together. A total game-changer for picking colors for your big project.
For a cool lion, your usual set of colors probably means a bunch of browns. Earthy ones, maybe some reddish-browns. Black and white for pop and bright spots. Because, knowing what your colors will do on paper stops you guessing, keeping your ideas flowing.
Stack Those Colors, Easy Does It
Start your art with the darkest bits. These are your anchors. For a face with shadows, a sharp black watercolor pencil, used light, makes instant depth. Textured paper works best. Helps the color stick better.
Next, throw down your first color layers. Browns, reddish-browns, you know. Gently. Don’t pile on colors like regular pencils. Two or three light passes usually cut it. The water does the big blending later. But you do need enough color on the page for it to really pop. Too little? Your colors will just disappear.
Magic Time! Blend It Up
Okay, magic time! Get a small, pokey brush. Dip it in clean water. But don’t drown it. Less is seriously more. Start with the light areas. Then slowly switch to the darker spots. This stops your colors getting muddy. Big secret, that.
Move fast! Hang around too long? You get those weird patchy “cauliflower” bits. Pigment just sits unevenly. Gross. You want smooth changes, not a lumpy mess. Think about a lion’s mane. Getting that rich, natural flow? Needs tons of careful, quick blending. Light to dark. It’s a commitment. But the payoff? Hella satisfying.
Get Those Pencils Sharp! Detail Time
So, layers dryin’? Time to refine. Grab those sharp watercolor pencils. Add individual fur strands. Go with the flow of the animal’s coat. Attention to detail. Seriously brings your drawing to life. Remember this: put a darker layer down first in shadows. Makes lighter top details just pop without extra work. And deeper shadows? A sharp black pencil. Your best friend.
Now for highlights. Put that white watercolor pencil down. Just for a sec. It’s okay, sure, but a white gel pen? Usually gives you way cleaner, brighter, sharper highlights. Perfect for whiskers. Or tiny glints in the eyes. But seriously, don’t try any X-acto knife tricks for hair. With watercolor pencils, it just won’t give you the look you’re going for.
Messed Up? Erase Smart
Mistakes happen. Even pros make ’em. The good news? You can fix watercolor pencil stuff. An electric eraser is your best bet for this. Timing is everything. Paint should be almost dry. But still a little damp. Too wet and you tear the paper. Too dry and the eraser won’t really pick up the color.
Finish Line! Pop It All
Alright, finish line! Step back. See if you can make things pop more. Add more black to the background. Or those deep, shadowy spots. Makes your main thing really jump off the page. Also, use your white gel pen for those last, sparkling highlights. Whiskers. Tips of a mane. Sparks!
For the beard? Blend grays and light browns. Get that fluffy look. And don’t hide the paper’s texture. Let it peek out! That natural grit often adds realism. A final, super light pass over the whole thing (but not the background, if you want that super dark) with a neutral light brown pencil can bring all the colors together. Give it a nice finish. Make it feel whole. And alive.
This whole process, from light sketches to getting all those details blended? It’s not about being perfect the first time. Building it up. Refining it. Enjoying the process. And when you finally peel back that masking tape, seeing your cool art, framed up? Chef’s kiss. That’s the real California chill spot experience.
FAQs (Quick Hits!)
Q: Regular pencil for the first sketch?
A: Nope! Use a black watercolor pencil. It disappears with water. Graphite stains.
Q: Break easily?
A: Yeah, kinda. Like crayon-type pencils. Go light. Save the lead.
Q: Best for white highlights?
A: White gel pen, hands down. Whiskers pop.