Your Arduino Button LED Project: AI Code & The Nitty-Gritty
Ever thought about building cool stuff fast? Without getting totally bogged down in code? If you’re building an Arduino Button LED Project, using AI is not just a lazy trick. It’s smart. And quick. Out here, we’re all about speed. Let’s get that same hustle onto your workbench.
AI tools like ChatGPT for Arduino code? Yeah, totally
The old way? Debugging for hours. Struggling with weird variable types. Wading through cryptic forums. Nightmare! The new way? Ask an AI. ChatGPT, or whatever you fancy, can whip up a working Arduino sketch in minutes. It handles basic lights and buttons. Even complex timing. Seriously, it’s like a coding friend who never sleeps.
This slick shortcut means way less time pulling your hair out over syntax. And more time grasping why stuff works. This fast track isn’t only for newbies. Pros use AI for basic code too. Frees them up for the awesome, inventive stuff. A total game-changer for bringing your ideas to life. Super fast.
Button, LED, Arduino: The Basics. With a little delay
At its heart, this Arduino Button LED Project is simple. Push. Light on. Release. Wait. Then light off. It teaches you how the Arduino “hears” inputs and “talks” to outputs. Hello, physical computing!
But a key thing is making that LED wait to turn off. delay()? It stops everything. No, really. It completely freezes your program. millis() is better. It keeps your Arduino ready for other actions. While still counting time. Mastering this non-blocking wait. Critical for pretty much anything interactive you’ll ever build.
Essential parts: buttons, resistors, breadboards, and those wires
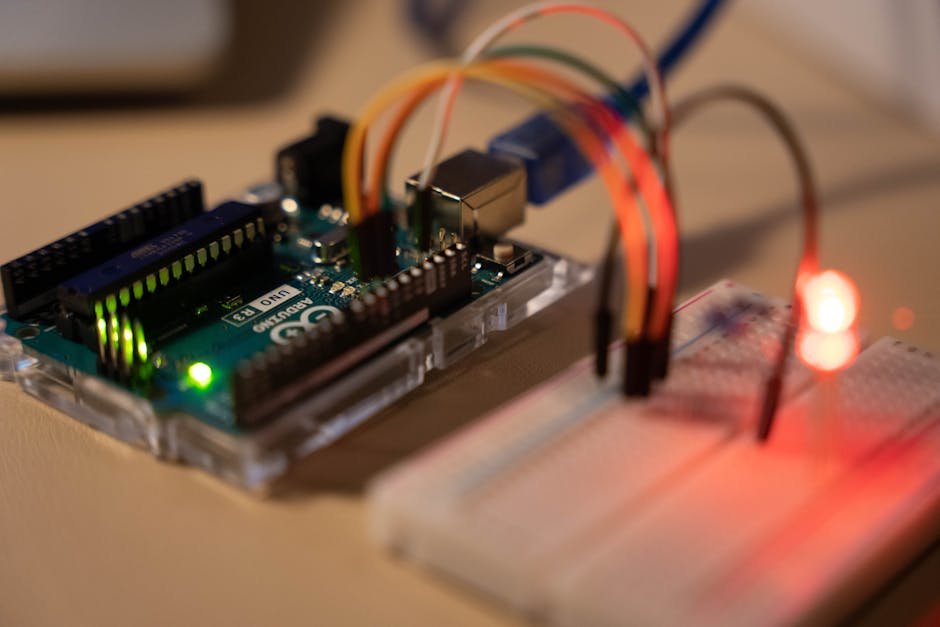
No code if you can’t connect, right? An Arduino Button LED Project needs a few key bits. Push buttons: they come in different shapes, but all just complete a circuit when you push ’em. Resistors? Your electrical bodyguards. They stop too much current. Protect the delicate stuff. Like LEDs. A 100-ohm resistor usually does the job.
And a breadboard. Your temporary workshop. A reusable block where you poke in components. Connect them with jumper cables. These wires, male-to-male, male-to-female, or female-to-female, are your electrical pathways. Connecting your buttons and LEDs directly to the Arduino. Get comfy with these little guys. Because bigger builds are waiting.
Pin setup time: Tell your Arduino what’s what
Your Arduino board’s got a bunch of pins. Lots of ’em. You gotta tell each one its job. That’s pinMode(). For our button? Say it’s on pin 5. You set it to INPUT. Arduino listens on that pin. For signals to come in.
And for the LED? Often the built-in one, pin 13. Set its pinMode() to OUTPUT. Now the Arduino can send power out of that pin. Light up that LED! Setting these roles is always step one for any Arduino code.
millis() function. King of time-sensitive events
Want something to happen after a certain time, but without crashing your whole Arduino? millis() is your best pal. delay() literally puts your Arduino to sleep. But millis() constantly tracks time. Every millisecond since power-up. Compare the current millis() value to a past moment. Say, when the button was pressed. Bam! Events triggered precisely.
For our LED, this means it turns off after one second. Right after you let go. And the Arduino keeps doing other tasks. So smooth. It’s a fundamental idea. Makes your projects feel responsive, professional. Not sluggish.
Hands-on skills: Building on the breadboard & virtual tests
Making circuits on a breadboard. It’s a bit like art. And also science. You’ll connect the button’s output straight to an Arduino input. Always with a resistor. This pulls the signal low when nobody’s pushing the button. The LED connects to another output. Yeah, another resistor for that one, too. Careful wiring, making sure everything has power. (3.3V or 5V, ya know?) And a good ground connection.
But then, simulation tools. Man, they are awesome. Test your circuit and code. All virtual. Before you even touch a wire. See errors. Fix connections. Polish your code. No risk of frying expensive bits. A super way to check your plan.
Why different AI code matters
Not all AI code is the same. ChatGPT might give you one good solution. Then another AI gives a different one. For instance, one might love millis() for delays. Another might just stick to delay(), maybe. Both can work.
The important thing: Why did they choose that path? Comparing these various ways helps you get the big picture of coding principles. You learn why non-blocking code is cool. Compared to simpler, total stop operations. This comparison builds good thinking skills. What’s quick? What’s simple? What really works for your project’s vibe?
Quick Questions
Q: Which Arduino pin has the built-in LED?
A: Digital pin 13. Usually.
Q: Resistors. Why bother with them around a button?
A: Well, they stop too much juice flowing. Keeps your precious LEDs safe. Also, they keep button signals stable. No wacky “floating” inputs.
**Q: millis() vs. delay(): What’s the real difference for an **Arduino Button LED Project?
A: millis() lets your Arduino do other cool stuff while waiting. Responsive code. delay() just pauses everything. Total freeze.